
Bula, and congratulations! You've set a date, which now means you've got paper to sort out. Here's the order to do it in, with the money parts said plainly (because nobody likes finding out about costs late).
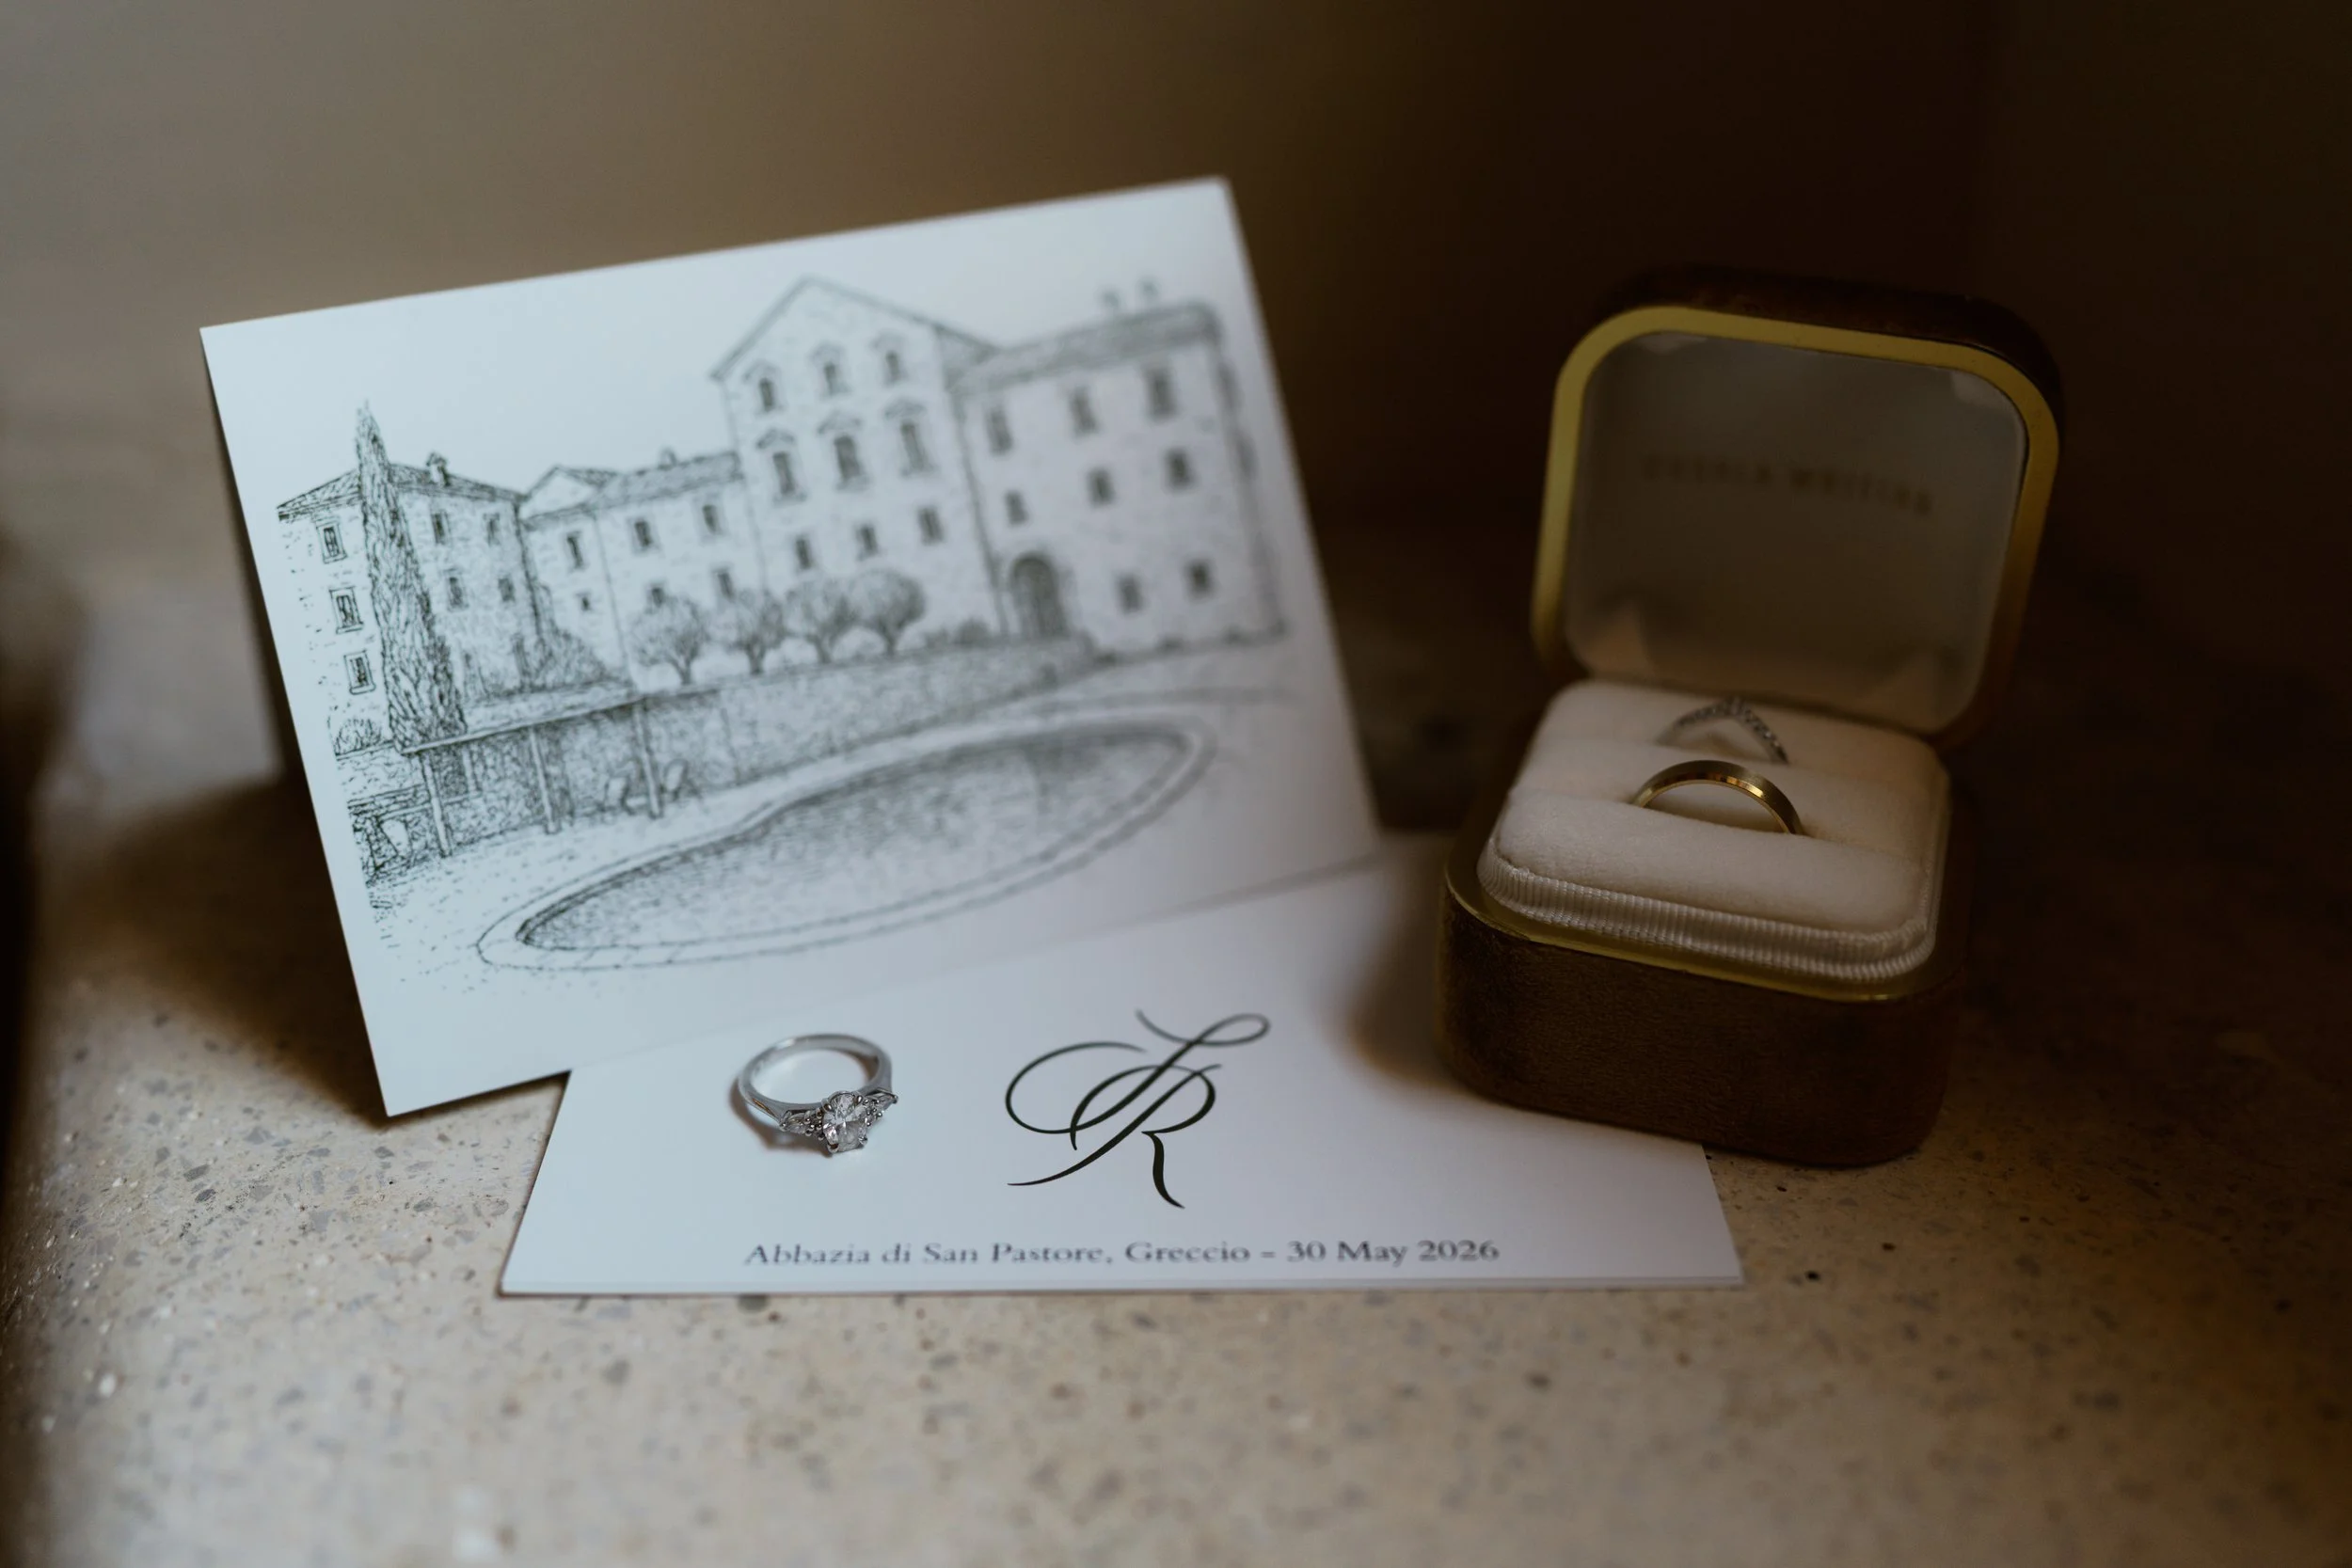
12 months out: Lock in the basics
Before you do anything, confirm your date and venue and estimate your guest count. You’ll already have an idea of what style suits you best, so once you have your date and venue locked in, start researching stationery designers. Remember, good venues and stationery designers book up early, and you can't print anything until your date and venue are final. Before you say yes, ask for the price, the deposit, and what's included.
9 to 12 months out: Save the dates
We cannot stress enough to keep your Save the Dates short. They only really need your names, the date, the location, and a line saying the invitation will be shared soon. Send them closer to 12 months if guests are traveling from interstate or overseas. And only send to people who are definitely on your guest list, because taking one back is awkward.
6 to 8 months out: Design the invitation suite
Essentially, you’ll need an invitation card, a details card (to include accommodation, dress code, gifting, etc.) and an RSVP card or link/QR code. Oh, and envelopes! Make sure that you proof every single word twice, especially dates and names. We always recommend ordering 10-15% extra to account for late additions. In most cases, if an error makes it past the proofing stage, the client is responsible for paying for a reprint.
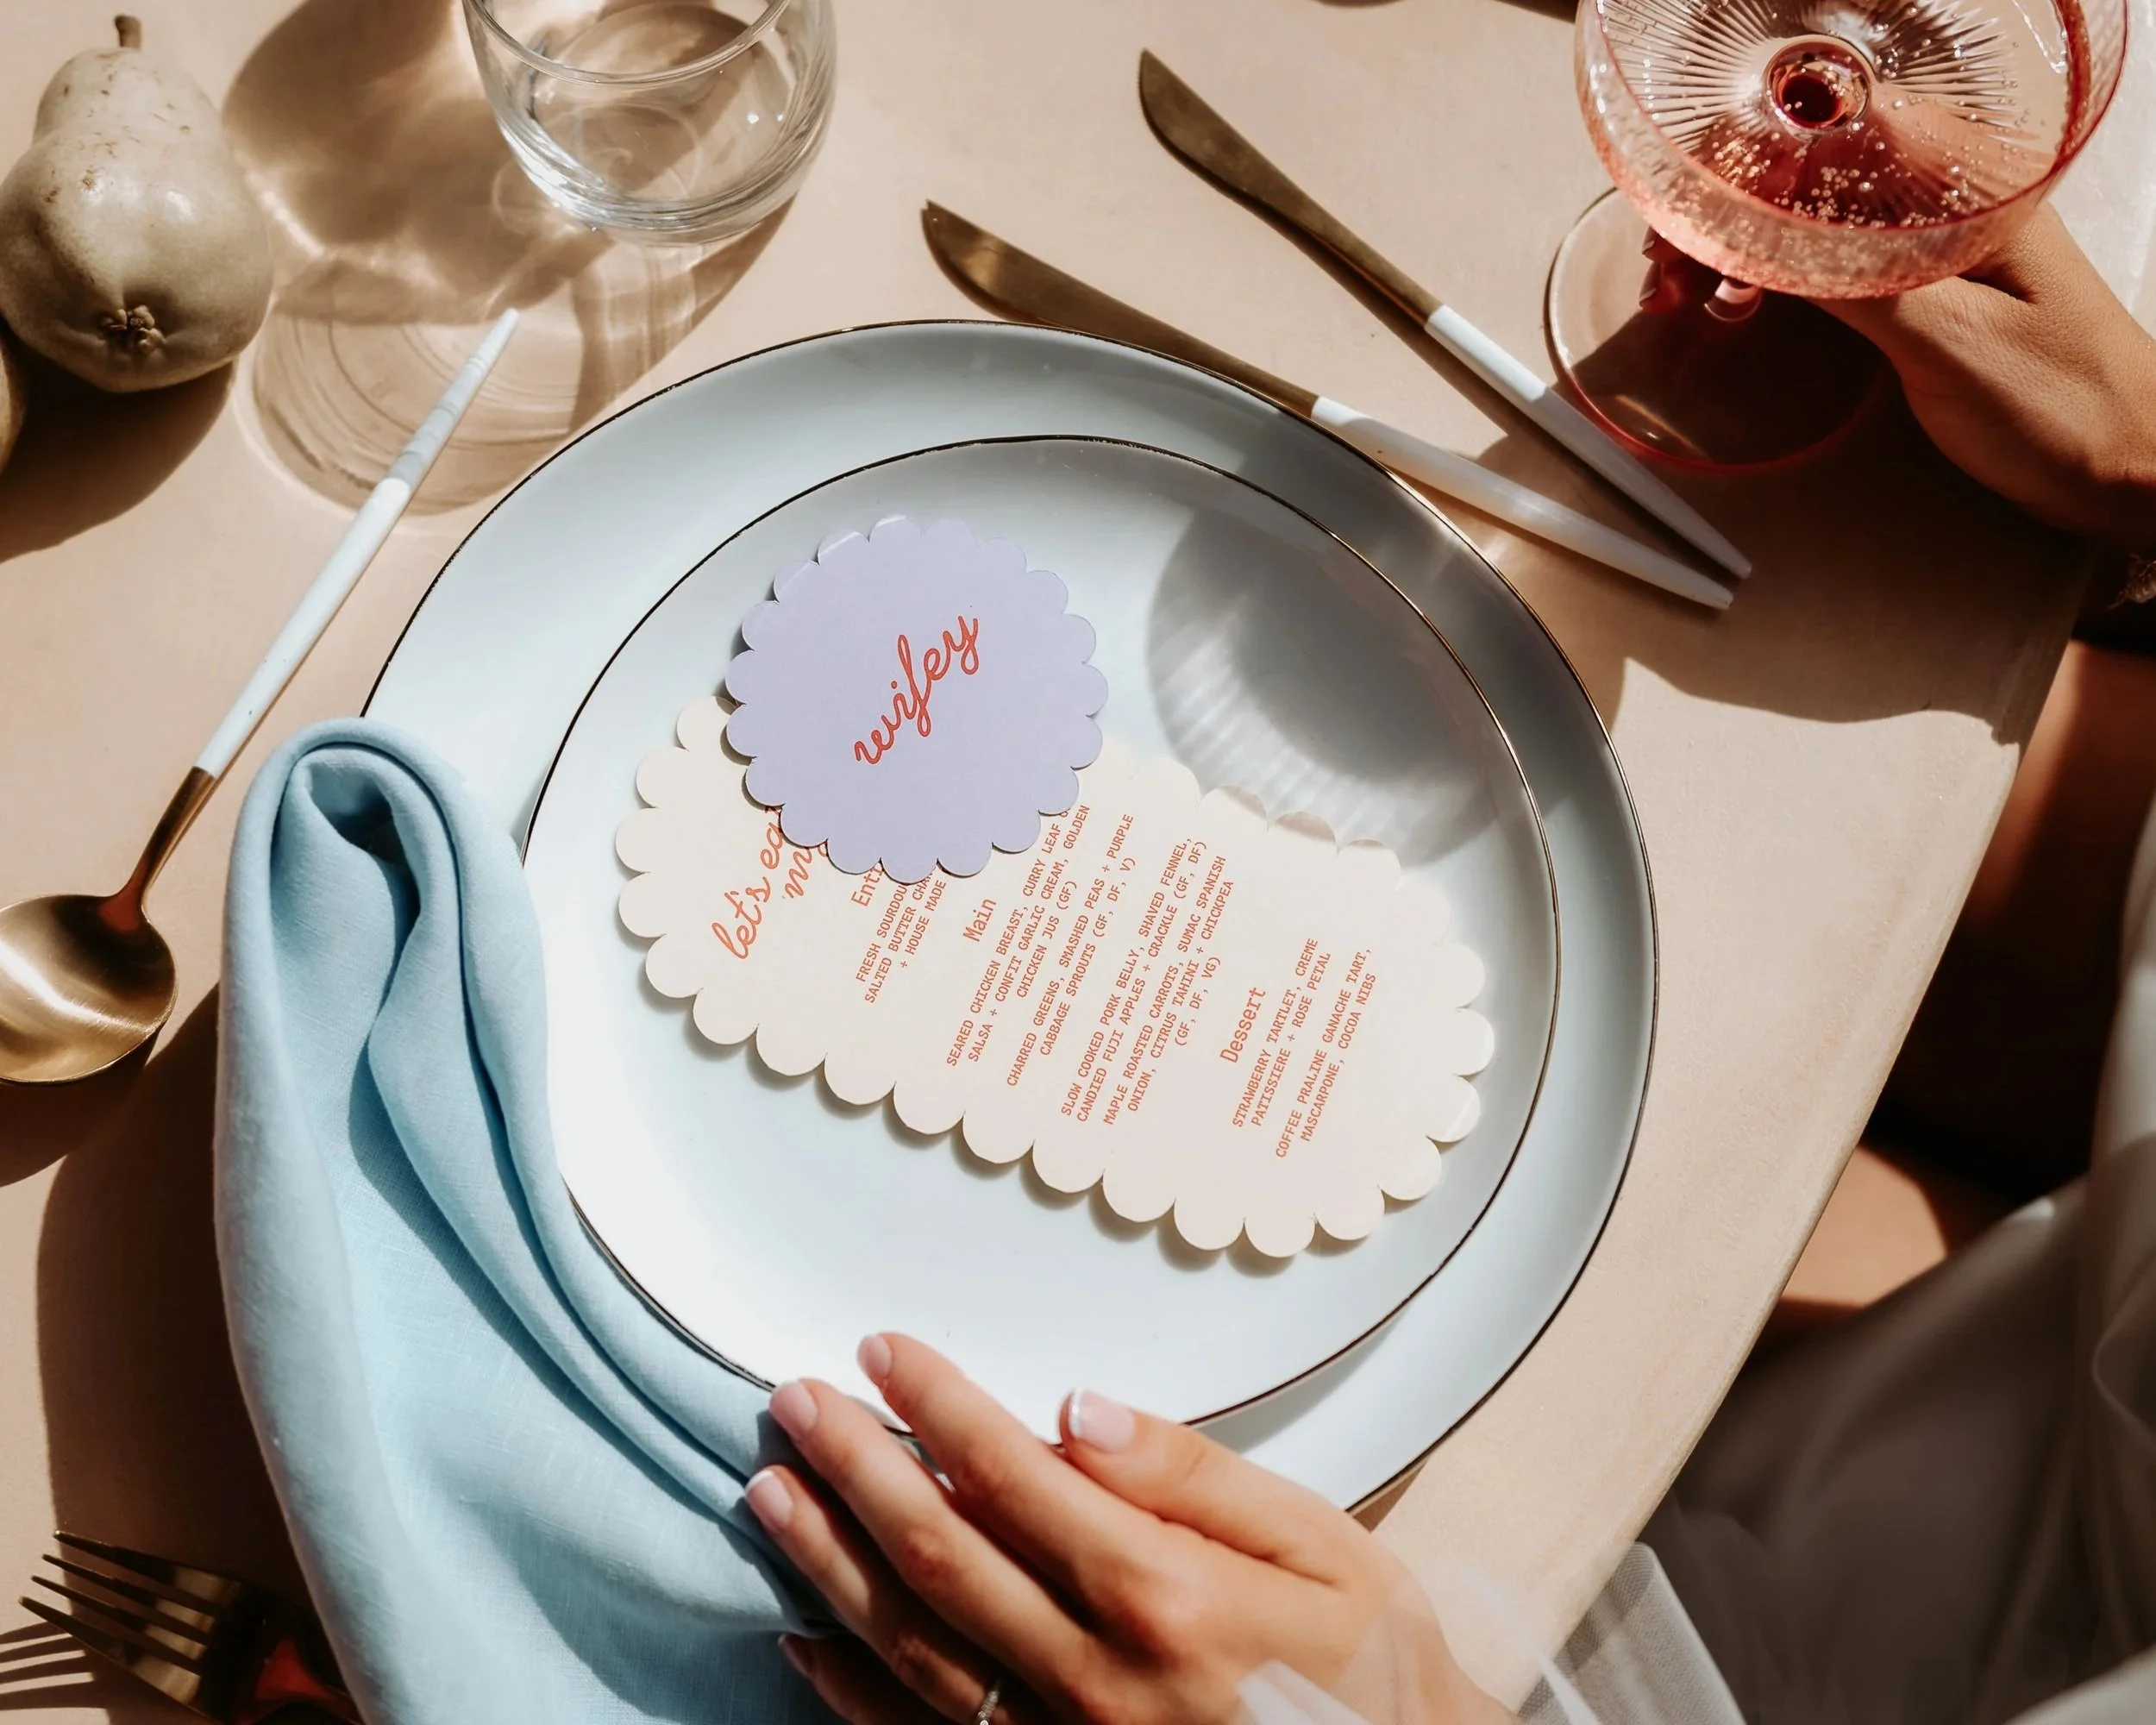
3 to 4 months out: Send the invitations
We recommend mailing out your invitations 8-12 weeks before a local wedding, or 3-4 months before a destination wedding. A good idea is to take one fully assembled invitation to the post office to have it weighed, so you can understand and budget for the postage rates. Remember, square and embellished envelopes often cost more to post. Set your RSVP deadline for 3-4 weeks before the wedding, and be prepared to chase replies.
6 to 8 weeks out: Plan the day-of stationery
As your RSVPs come in, take the time to finalise programs, menus, and other day-of signage. Confirm quantities with your stationer, because lead times can get tight and rush fees are a risk if you're late to make final plans.
2 to 4 weeks out: Numbers, seating and place cards
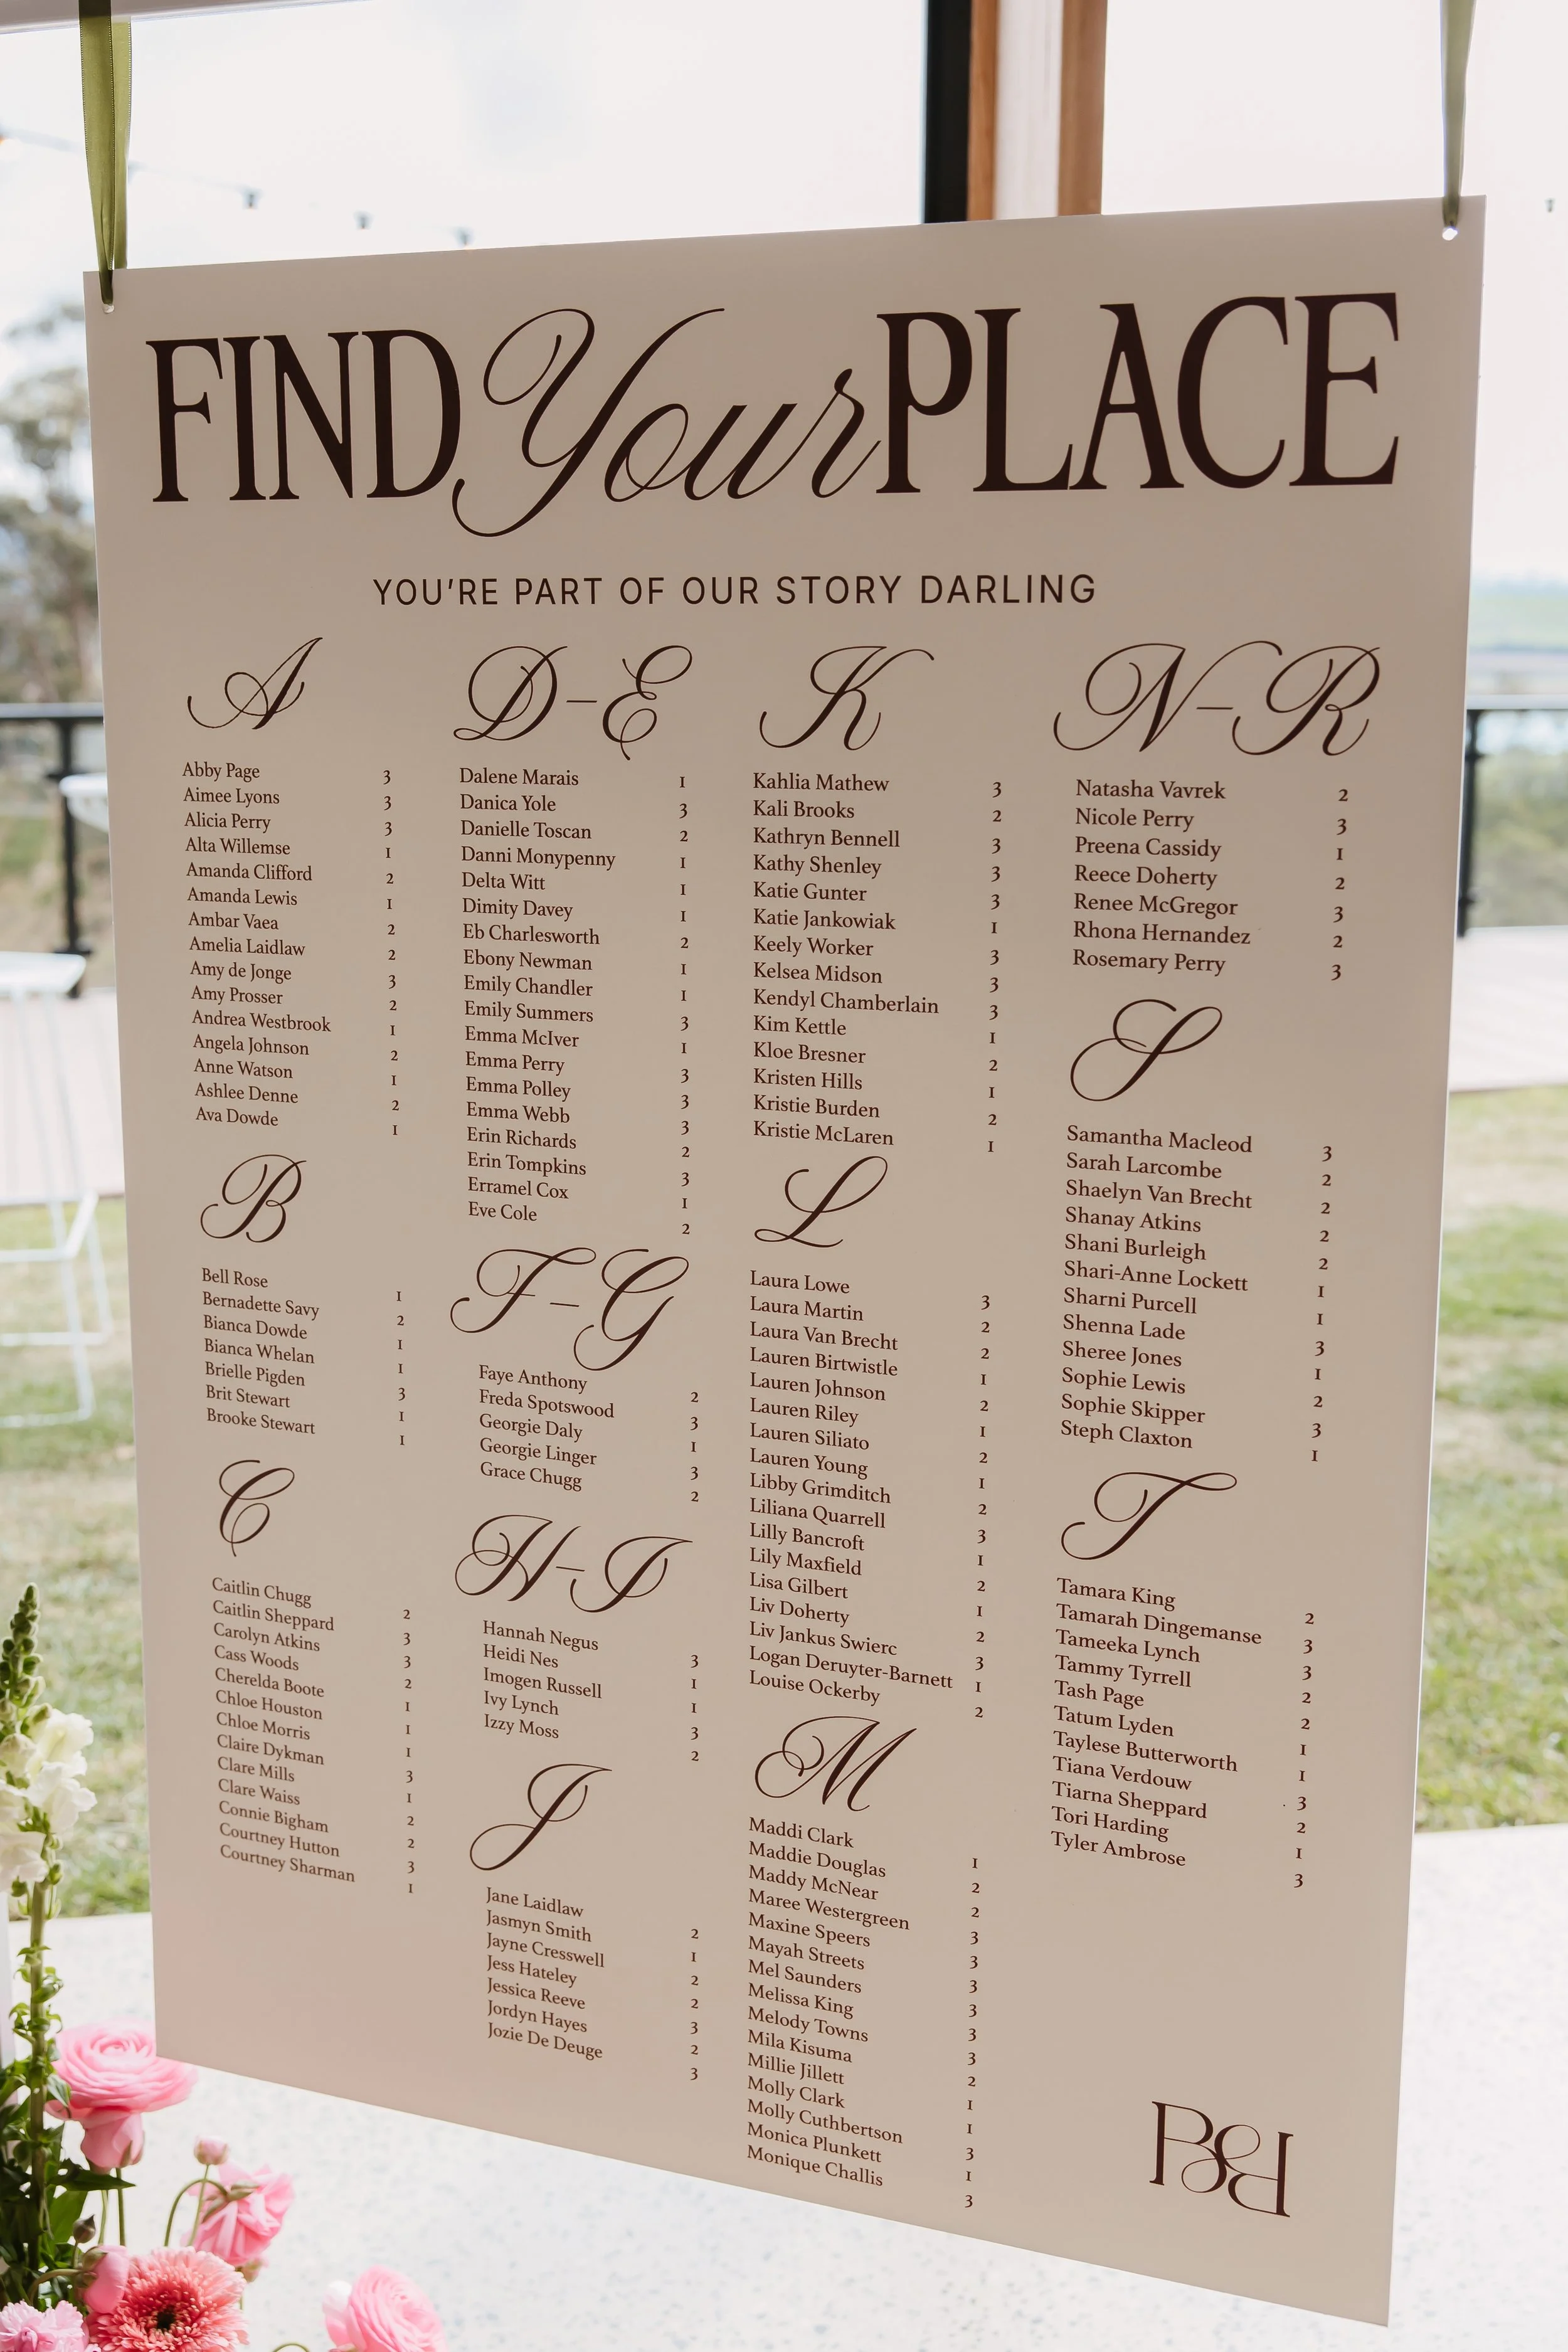
Chase guests who haven't replied and then send final numbers to your caterer and stationer. Create your seating plan, order place cards, table numbers, and any other stationery items for the day itself. You may want to consider menus, guest book signage, gifts, a bar menu, etc.
Check and re-check every name against your guest list, and then have a trusted pair of eyes sight it too.
The final week: Pack it up
Count everything, label boxes by area (ceremony, tables, bar), and add pens, tape, and scissors - this will make the day-of setup run smoothly and earn you brownie points with your co-ordinator or venue manager. Remember to include a set of your invitations for your photographer to include in any detail shots.
The morning of: Let it go
Someone else has the list and the boxes. Your only job is to get ready and enjoy your day! Ask your photographer to shoot your invitation suite laid out together, because it will look good in the album!
After the wedding: Thank-you cards
Send them within two to three months, each with a personal line about the gift or the moment.
Love, Coco
